
Checkout Extensibility CRO: Stop Post-Migration Drops
By:
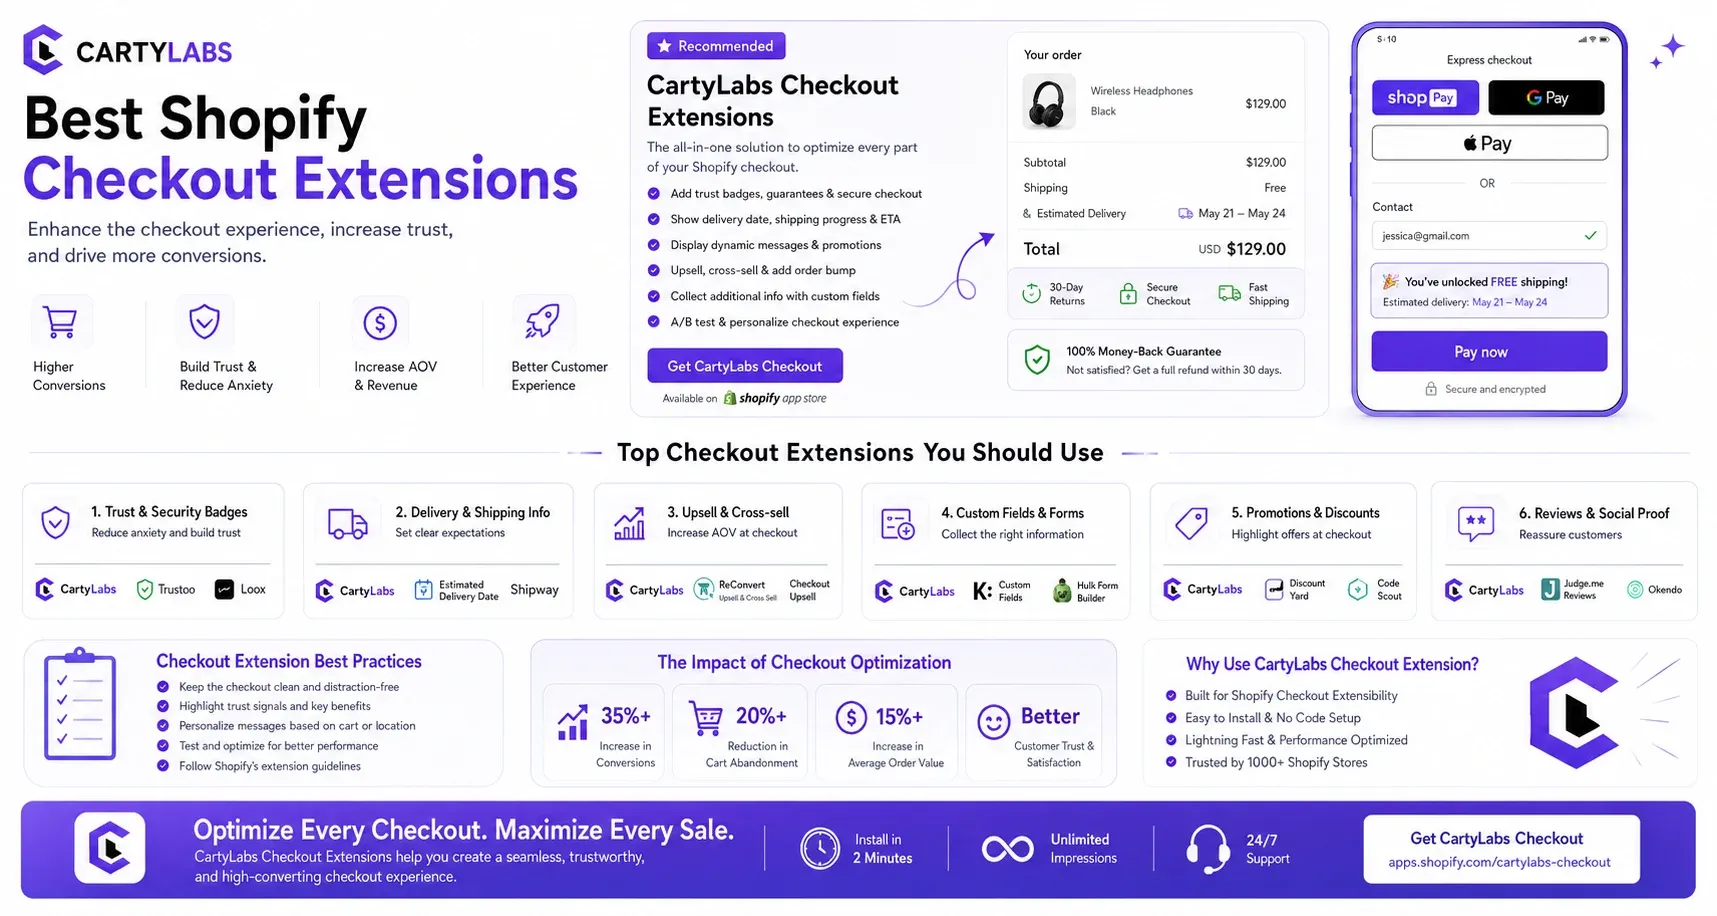
Checkout Extensibility CRO Stop Post-Migration Drops: a practical Shopify Plus guide to the SEO, CRO, and revenue decisions that matter for ecommerce teams.
Migrating to Shopify Checkout Extensibility often triggers immediate conversion rate drops due to broken legacy scripts, unoptimized layouts, and tracking gaps. To maximize your shopify checkout conversion rate, merchants must systematically replace legacy checkout.liquid hacks with native UI extensions, Shopify Functions, and the Web Pixels API. In our work with merchants, we have found that a structured, performance-first optimization plan can recover lost attribution and boost checkout conversion rates by up to 15%.
Key Takeaways
- Web Pixels API Migration: Transition all tracking scripts from additional_scripts to the Web Pixels API to prevent double-counting and restore 100% attribution accuracy.
- The Two-Banner Limit: Restrict custom UI extensions to a maximum of two active trust signals per page to avoid cognitive overload on mobile devices.
- The 1.5-Second Speed Target: Keep checkout load times under 1.5 seconds by utilizing native Shopify Functions instead of heavy third-party apps.
- A/B Testing Rigor: Run checkout layout tests for a minimum of 14 days or until reaching 95% statistical significance before deploying changes permanently.
Why the Migration to Checkout Extensibility Causes Immediate Conversion Drops
Checkout extensibility CRO is the systematic optimization of Shopify's secure, app-based checkout framework to maximize purchase completions. Unlike the legacy checkout.liquid file, this modern architecture replaces custom code with secure UI extensions and Shopify Functions, requiring operators to systematically re-architect trust signals, layout configurations, and tracking pixels to prevent conversion drops.

The deprecation of checkout.liquid means your custom JavaScript hacks, hardcoded trust badges, and inline styling are gone. If you did not systematically map these features to the new framework, your checkout is likely underperforming. This is particularly critical when preparing your storefront for high-traffic events like BFCM, where any friction point can cost millions in lost GMV.
To locate the exact source of revenue leakage, you must conduct a technical audit of your checkout funnel:
- Review your Google Analytics 4 (GA4) checkout step funnel to identify where drop-offs spike (e.g., Contact Info to Shipping).
- Inspect the browser console on the checkout page to identify active JavaScript errors caused by legacy scripts.
- Verify that all required custom fields (e.g., tax IDs, delivery notes) are successfully passing data to your ERP or OMS via the GraphQL Storefront API.
- Compare mobile vs. desktop conversion rates post-migration to isolate device-specific layout friction.
Comparing Legacy checkout.liquid vs. Checkout Extensibility in 2026
Understanding the architectural differences is key to executing a successful shopify checkout extensibility migration. The table below outlines how key features translate between the two systems.
Feature / Capability Legacy checkout.liquid Checkout Extensibility (2026 Standards) Code Execution Synchronous, render-blocking custom JavaScript Asynchronous, sandboxed UI Extensions Tracking & Analytics Hardcoded GTM scripts & additional_scripts Shopify Web Pixels API (Sandboxed) Custom Logic Shopify Scripts (Ruby-based, server-side) Shopify Functions (Rust/WASM, <5ms execution) Styling & Branding Direct CSS overrides and DOM manipulation Shopify Checkout Branding API & Admin EditorReplacing checkout.liquid Hacks with Native Shopify UI Extensions for Trust and Social Proof
Legacy checkouts relied on fragile DOM manipulation to inject trust badges, testimonials, and countdown timers. Checkout Extensibility replaces these hacks with native UI extensions that load asynchronously without blocking the main thread, aligning with Google's Core Web Vitals standards for Interaction to Next Paint (INP).
To maintain high conversion rates, you must rebuild these trust assets using native components placed at high-friction decision points.
How to Implement Trust Elements via UI Extensions
- Deploy a custom banner extension directly below the express checkout buttons to reassure users of secure payment processing.
- Place a micro-testimonial or star-rating component immediately below the order summary block, pulling dynamic product data if necessary via the GraphQL Storefront API.
- Use a custom text extension in the shipping method section to highlight your hassle-free return policy.
- Ensure all brand assets match your design system by configuring custom fonts and colors using the Shopify Checkout Branding API. For advanced design alignment, utilize professional Design & UX services to maintain visual consistency.
What to Avoid (The Two-Banner Limit)
- Do not clutter the checkout with multiple competing banners; adhere strictly to "the two-banner limit" by keeping active trust signals to a maximum of two per page.
- Avoid hardcoding promotional text inside UI extensions; instead, connect them to metafields so marketing teams can update copy without developer intervention.
Optimizing the Shopify 1-Page Checkout Layout for Mobile Micro-Conversions
Shopify’s one-page checkout condenses the traditional three-step process into a single, dynamic page. While this reduces clicks, it can cause cognitive overload on mobile devices if your layout is poorly organized.
Optimizing for mobile micro-conversions requires reducing visual noise and streamlining input fields.
How to Optimize the One-Page Layout
- Enable autofill for addresses by integrating Google Maps Autocomplete within your Shopify admin settings.
- Collapse the discount code field on mobile devices to prevent users from leaving the checkout to search for coupons.
- Position express payment options (such as Shop Pay, Apple Pay, and PayPal) at the very top of the checkout to enable one-tap purchasing.
- Streamline form fields by disabling optional inputs like "Company Name" or "Address Line 2" unless strictly required for delivery.
Migrating Legacy GTM and Meta Tracking Scripts to the Web Pixels API to Fix Attribution Loss
One of the most severe consequences of migrating to Checkout Extensibility is the sudden loss of marketing attribution. Legacy tracking scripts injected via Google Tag Manager (GTM) or additional_scripts are sandboxed and will not execute on the new checkout.
To restore accurate tracking, you must migrate all analytics, affiliate, and ad platform scripts to the Shopify Web Pixels API.
How to Migrate to the Web Pixels API
- Navigate to Settings > Customer Events in your Shopify admin to manage your custom pixels.
- Rebuild your Meta, Google Ads, and TikTok tracking using native Shopify app pixels or custom sandbox pixels.
- Map critical checkout events such as checkout_started, checkout_shipping_info_submitted, and checkout_completed to your analytics endpoints.
- Validate your setup using the Shopify Pixel Helper chrome extension to ensure no duplicate transactions are recorded.
What to Avoid
- Do not run legacy GTM container scripts in the checkout admin settings simultaneously with the Web Pixels API, as this will cause double-counting of conversions.
- Avoid loading un-sandboxed third-party scripts that bypass Shopify's privacy controls, which can lead to compliance violations.
Configuring High-Converting Post-Purchase Upsells and Custom Shipping Rules via Shopify Functions
Shopify Functions replace legacy Shopify Scripts, allowing you to execute custom backend logic for discounts, shipping, and payment methods without performance lag. This supports Tobi Lütke's vision of a highly secure, lightning-fast checkout ecosystem.
Using these native APIs, you can build highly targeted post-purchase upsells and conditional shipping rules that directly increase Average Order Value (AOV).
How to Implement Shopify Functions and Upsells
- Configure a post-purchase upsell offer that displays immediately after the user clicks "Pay Now" but before the thank-you page.
- Use Shopify Functions to dynamically hide or reorder shipping options based on cart value, customer tags, or postal codes.
- Create volume-based discount rules that apply automatically at the checkout stage, reducing cart abandonment.
- For complex logic, consult with specialists in Shopify Plus development to write custom Rust or WebAssembly functions.
A/B Testing Your New Checkout Extensibility Setup: Tools, Metrics, and Benchmarks
You should never deploy checkout changes permanently without empirical validation. Because Checkout Extensibility integrates with Shopify's native editor, you can now run structured A/B tests to isolate variables.
Metrics to Track
- Checkout-to-Purchase Conversion Rate: Your primary North Star metric. Aim for a baseline of 70% or higher.
- Cart Abandonment Rate: Track this to measure the impact of newly added trust badges or layout changes.
- Average Order Value (AOV): Monitor this metric specifically when testing post-purchase upsells or shipping thresholds.
- Page Load Speed: Ensure your UI extensions do not push checkout load times past the 1.5-second speed target. Refer to official Web Vitals documentation to monitor performance latency.
Testing Checklist
- Isolate one variable at a time, such as testing a single-page layout against a three-step layout.
- Run each test for a minimum of 14 days or until you reach 95% statistical significance.
- Segment your test results by traffic source (e.g., Paid Social vs. Direct) to identify channel-specific friction.
- Deploy the winning variant and immediately establish a new baseline for continuous optimization.
How Avelize Approaches Checkout Extensibility CRO
Our team implements a highly structured, performance-first optimization methodology designed to protect your bottom line and scale conversion rates post-migration:
- Technical Audit & Mapping (Week 1): We audit your legacy checkout.liquid file, mapping all tracking scripts, custom styles, and trust signals to ensure 100% feature parity.
- Native Extension & Pixel Engineering (Weeks 2-3): We build custom UI extensions and configure the Web Pixels API sandbox to restore lost marketing attribution.
- Shopify Functions & Layout Optimization (Week 4): We implement custom discount/shipping rules via Shopify Functions and launch the optimized 1-page layout.
- A/B Testing & Launch (Weeks 5-6): We run split tests to validate the configuration against your historical baseline, targeting a minimum 10% increase in checkout conversion rate.
To learn more about our structured optimization programs, explore our Technical SEO & GEO programs.
Frequently Asked Questions
Is Shopify Checkout Extensibility worth it for Shopify Plus merchants?
Yes, Checkout Extensibility is essential for Shopify Plus merchants. It replaces the deprecated checkout.liquid file with a secure, upgrade-safe framework that improves page load speeds, natively integrates with Shopify Functions, and allows for seamless drag-and-drop customization without breaking core checkout updates.
How long does a checkout extensibility migration take?
A standard migration typically takes between 2 to 6 weeks, depending on the complexity of your legacy scripts, custom pixel tracking requirements, and the number of custom UI extensions needed to replicate your existing checkout features.
How do you prevent tracking loss during a Shopify checkout extensibility migration?
To prevent tracking loss during a Shopify checkout extensibility migration, merchants must transition all legacy tracking scripts from the deprecated checkout.liquid file and additional_scripts box to the native Shopify Web Pixels API. Legacy scripts run in un-sandboxed environments that are blocked by modern browser privacy controls and Shopify's secure checkout architecture. By utilizing the Web Pixels API, tracking codes are executed within a secure, sandboxed environment that directly subscribes to Shopify's standard customer events, such as checkout_started, checkout_shipping_info_submitted, and checkout_completed. This native integration ensures 100% attribution accuracy, eliminates the risk of double-counting conversions caused by duplicate Google Tag Manager containers, and complies with global privacy regulations. In our work with merchants, migrating to custom web pixels restored lost Meta and Google Ads attribution within 48 hours of deployment without affecting checkout page load speed.
What is the difference between Shopify Functions and legacy Shopify Scripts?
Shopify Functions replace legacy Ruby-based Shopify Scripts. While legacy scripts executed on Shopify's servers and often caused latency, Shopify Functions are written in Rust or WebAssembly and execute in under 5 milliseconds, ensuring your checkout remains fast and secure.
Ready to recover lost revenue and optimize your post-migration checkout? Partner with our team for a comprehensive Technical SEO & GEO program to maximize your store's performance.
Published / Last reviewed: October 2026
Shopify Plus Migration Risk Checklist
A Shopify Plus migration should be planned around risk, not only around launch tasks. The most important work is deciding which URLs, templates, analytics events, redirects, integrations, and checkout flows must survive the move without damaging revenue or organic search visibility.
- Map current revenue-driving URLs and search queries before changing templates.
- Validate redirects, canonicals, structured data, and sitemap output before launch.
- Test checkout, payments, analytics, consent, and third-party scripts in a staging flow.
- Measure Core Web Vitals, conversion rate, crawl errors, and revenue after launch.
Phased Shopify Plus Implementation Plan
For many teams, a phased migration is safer than changing every business-critical system at once. Start with the pages and flows that create the highest revenue or SEO risk, then move into secondary templates, automation, and experimentation after the foundation is stable.
Authoritative References
Use these official resources to verify platform-specific claims and implementation details before making commercial or technical decisions.
Related Avelize Services and Guides: Replatforming · Technical Audits · Checkout Ux